Inventory is a convenient mechanism for verifying the accuracy of actual stock levels against recorded ones. Regular inventory helps reduce theft, increase employee accountability, and improve record-keeping, as it not only identifies shortages but also corrects product misplacements that occur due to cashier errors. Inventory results can be reflected on the terminal.
You can also reflect the inventory results in the web application.
If possible, avoid conducting inventory during the operating hours of your point of sale (store) - this will help prevent errors in counting actual stock levels. It is better to conduct the count during the store’s non-working hours. If the store cannot be closed during the inventory process, try to choose a period of lower customer activity and conduct the inventory by product groups, suspending sales of selected groups during the counting process.
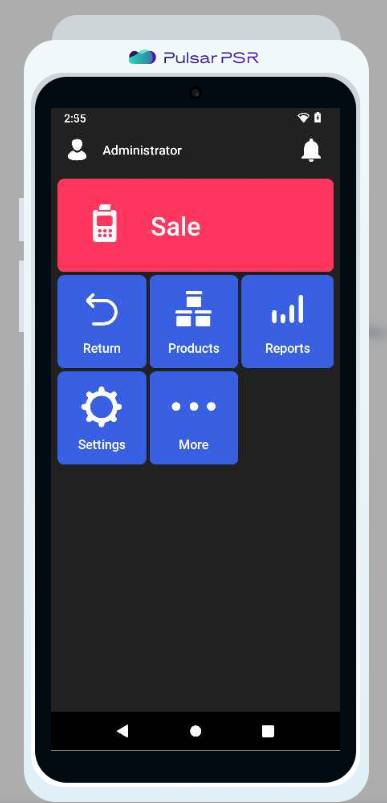
- To reflect the inventory results using the Pulsar POS device, select PRODUCTS on the main screen.
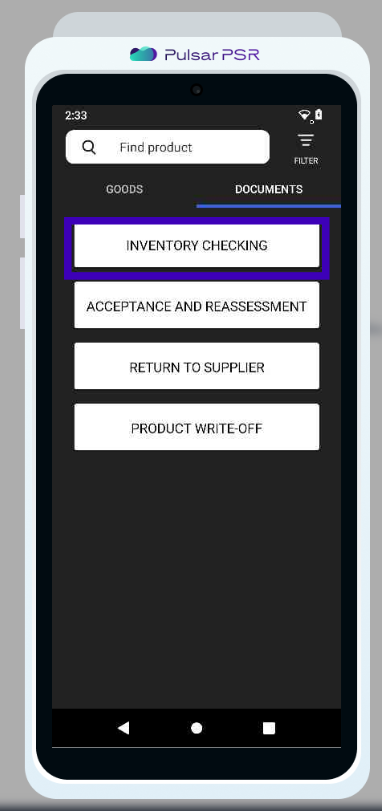
- Go to the DOCUMENTS tab and select INVENTORY CHECKING .
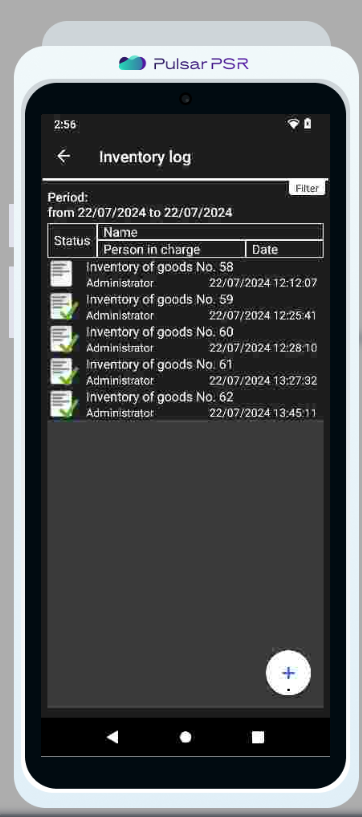
- A window for the Inventory Log will open, displaying previous inventories for the selected period. To change the period, use the Filter button.
Add a new inventory document by clicking the ADD + button.
- You can add products using a scanner or manually, by clicking in the designated area for adding products in the document.
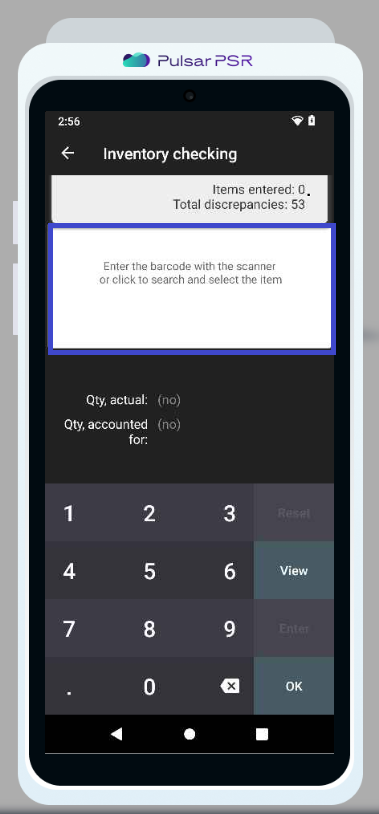
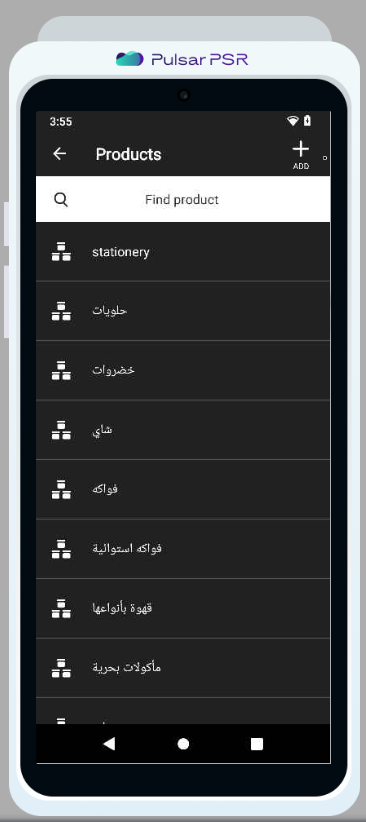
- Select products from the catalog. If an unrecorded product is found during the inventory, add a new product by clicking the ADD + button.
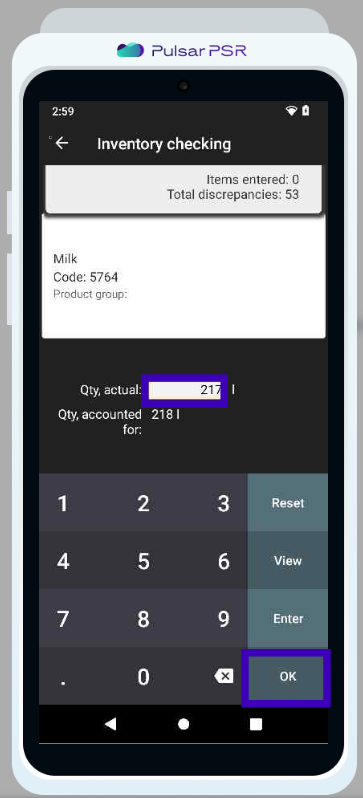
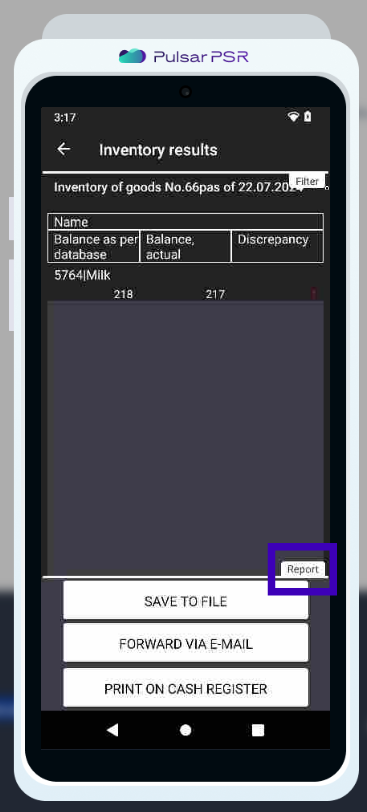
- When adding a product to the document, its recorded quantity will be displayed. We need to fill in the Actual Quantity obtained after recounting the products in the store. For example, we will enter 217 as the actual quantity for the milk product.
- If we want to add more products to the document, click the ENTER button and continue adding items.
When all products have been added to the document, click the OK button.
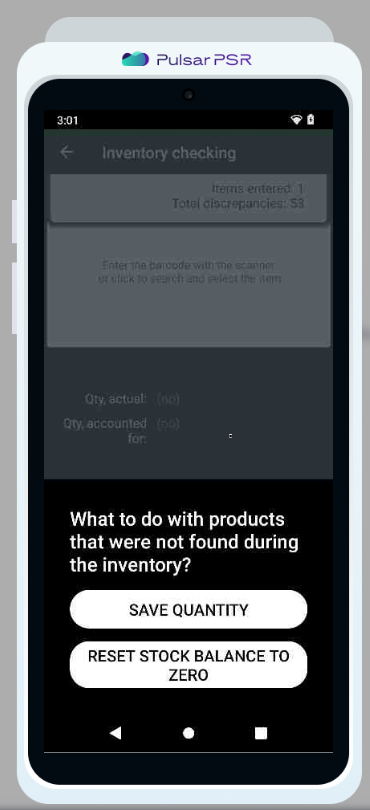
- If not all product items are included in the inventory document, the system will ask what to do with the products that are not reflected in the document. We have two options:
- RESET STOCK BALANCE TO ZERO, This will set the quantity of products in the database to zero.
- Or keep recorded quantity, which means not changing the products balances and inventorying them later by clicking on the SAVE QUANTITY button.
- The created inventory document will be displayed in the open inventory log in front of us.
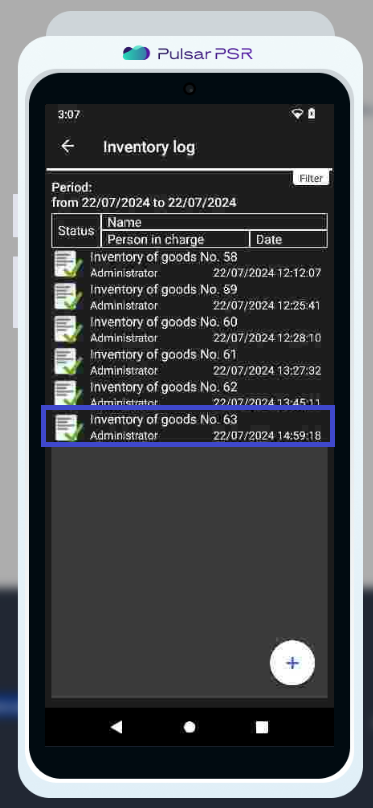
- We can open the document by clicking on it to review the inventory summary.
- We can save the document either as a file on our device, send it via email, or even print it using the Pulsar POS device by clicking the Report button and selecting the option that suits us from the list.
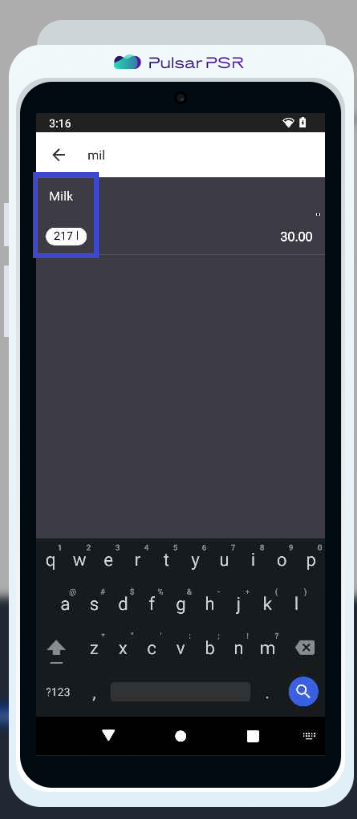
- Now, let’s check how the quantity in the database has changed based on the inventory document. We will press the BACK ◀️button to return to the GOODS tab. There, we will use the Find product feature to find our inventoried product: Milk.
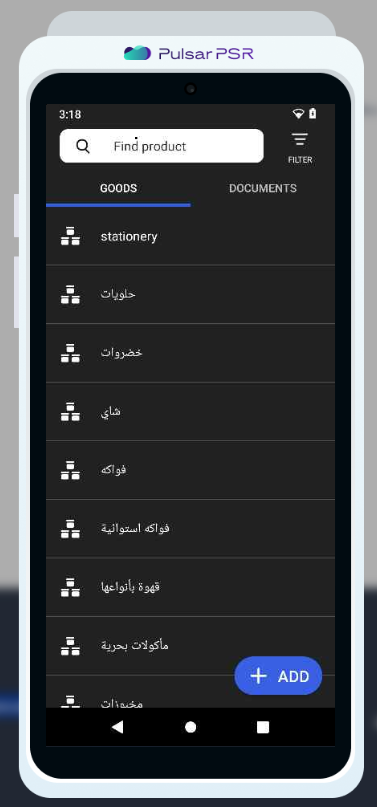
- Upon finding the product in the catalog, we will see that we now have 217 liters of milk (actual quantity) in the store.
