In this article, we will guide you on how to create a RETURN TO SUPPLIER document using the Pulsar POS device in a simple and straightforward way.
You can also create purchase returns through the web application.
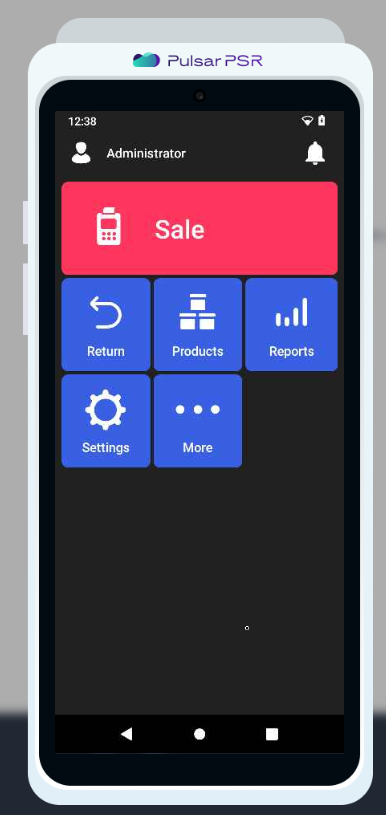
- To return purchased goods to the supplier on the Pulsar POS device, go to the main screen and press PRODUCTS.
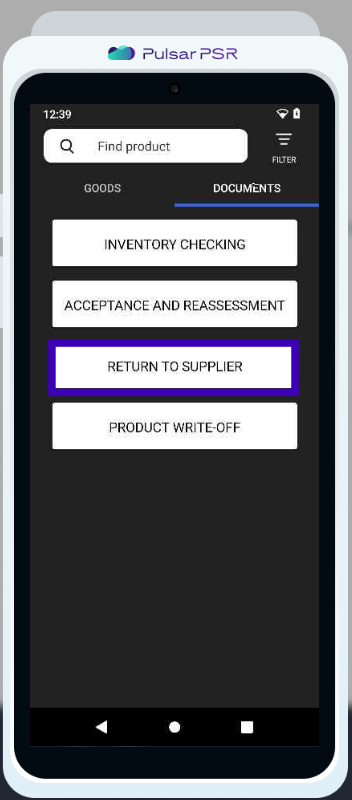
- Go to the DOCUMENTS tab and click on the RETURN TO SUPPLIER button.
- Add the products you want to return to the supplier.
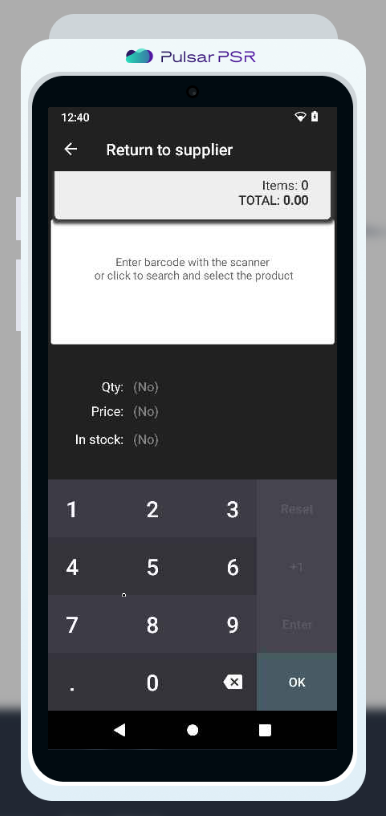
- We can add products using a barcode scanner or manually by entering the product name or selecting it from the group it belongs to.
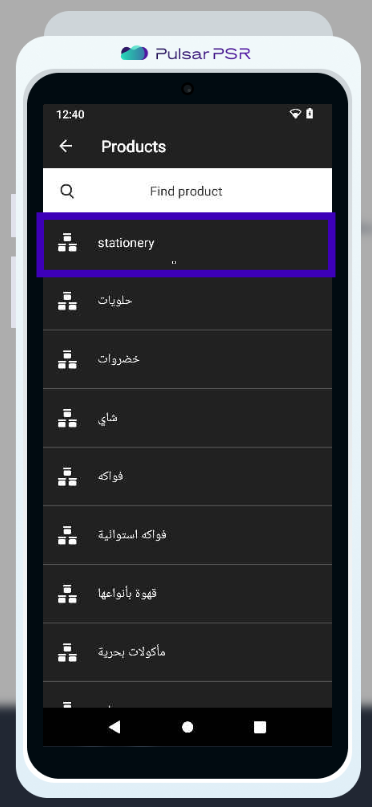
We need to add the product "PENCIL, J.R. MOON" which belongs to the "STATIONERY" group. Therefore, we select the "STATIONERY" group.
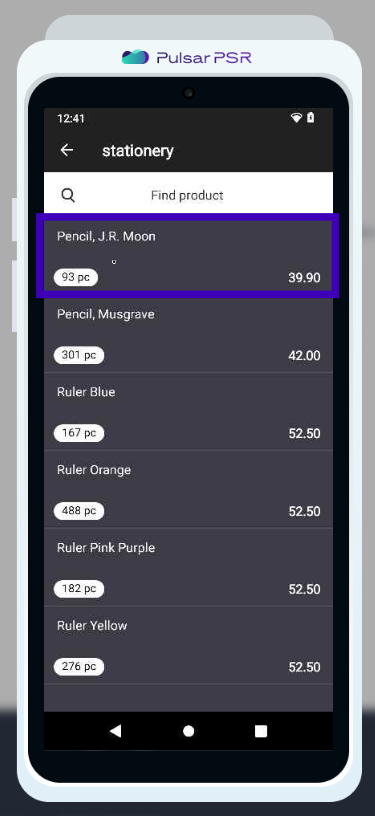
- In the group, we find the product "PENCIL, J.R. MOON" and add it to the document.
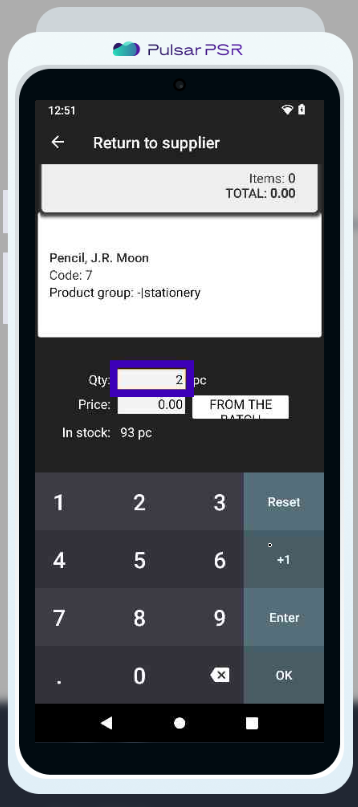
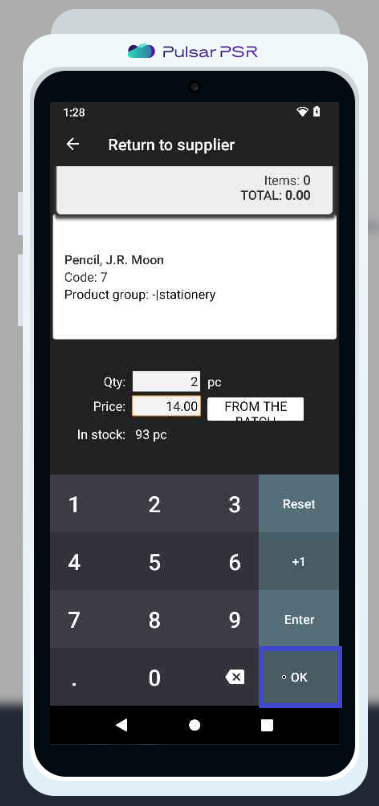
- We specify the quantity of the product to be returned to the supplier in the Qty field.
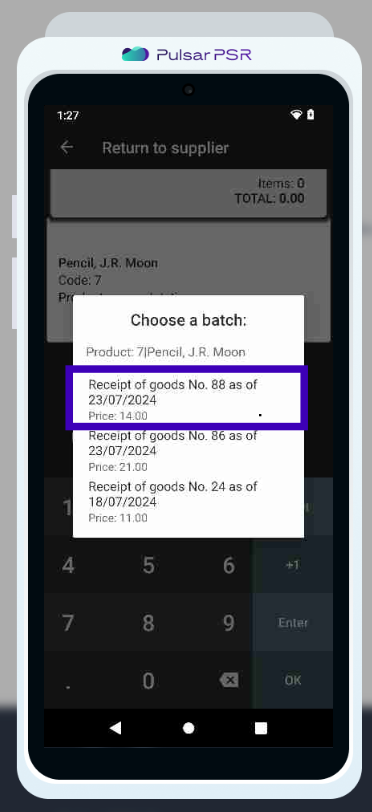
- Next, we specify the purchase price of the product, which can be entered manually or by clicking the FROM THE BATCH button. At this step, we select the goods acceptance (receipt of goods) document, by which the product was received.
- If we want to add more products to the document, we should press the ENTER button and continue adding products.
Once all products are added to the document, click the OK button.
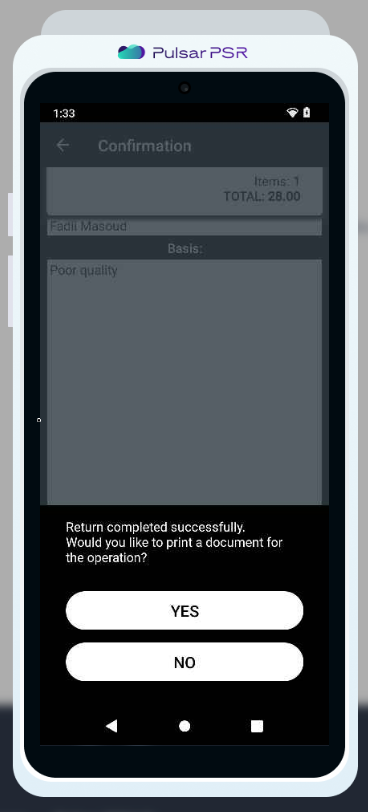
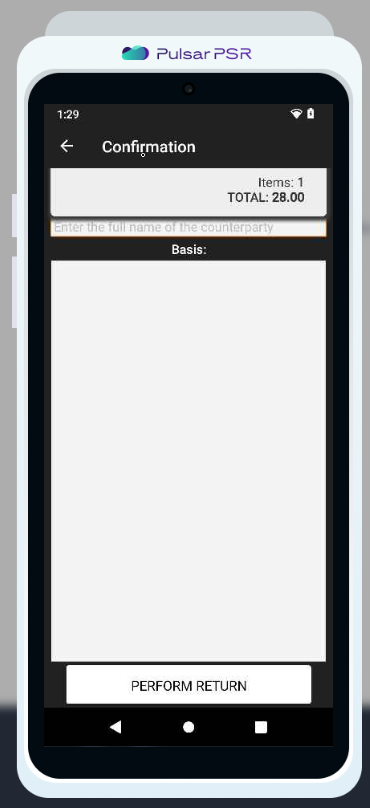
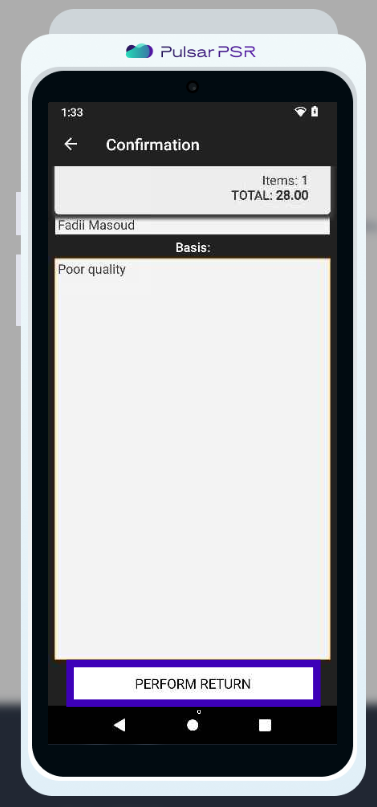
- Enter the supplier's name, and provide the reason for the product return.
- And then press the PERFORM RETURN button.
- After completing the operation, you can print a receipt.
